Getting Started with Agents
This guide walks you through building and running your first Lantern Agent.Step 1 — Open the Agent Builder
From the sidebar, go to Agents and click New Agent. Give it a name that describes what it does (e.g. “Blog Article Pipeline” or “Weekly SEO Report”).
Step 2 — Choose your mode
At the top of the builder you’ll see two options:- Workflow — you build the steps manually (covered in this guide)
- Agentic — the AI decides which steps to use based on a goal you describe (see Agentic Mode)
Step 3 — Add steps
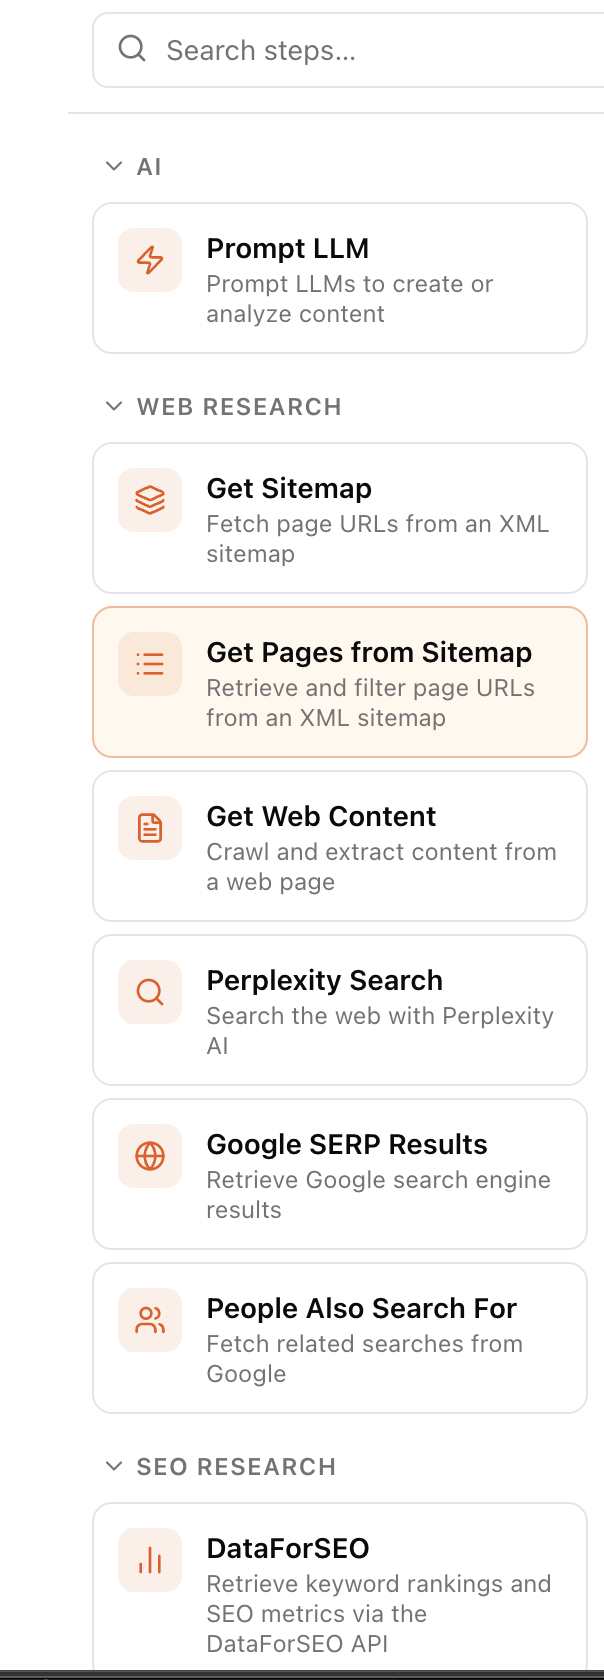
On the left panel you’ll find all available tools organised by category:- AI — prompt any LLM with your own instructions
- Web Research — search Google, crawl pages, fetch sitemaps
- SEO Research — pull keyword data from DataForSEO
- Content Generation — create titles, briefs, drafts, and full articles
- Knowledge Base — search or upload to your own knowledge store
- Integrations — connect GA4, Google Search Console, Slack, and Sanity
- Control Flow — add a human approval step before the workflow continues
Step 4 — Configure each step
Click a step on the canvas to open its configuration panel on the right. Each step has settings specific to what it does. Using outputs from previous steps Any step can reference the output of a step that ran before it using double-curly syntax:{{step_1.output}} and it will automatically use whatever the brief step produced.
Step 5 — Add input fields (optional)
If you want to re-use the same agent for different topics, add Input Fields from the trigger section at the top of the canvas. These become variables you fill in each time you run the agent. For example, add an input field called “Topic” and then reference{{topic}} in your step configurations.
Step 6 — Test a single step
Click the play button on any individual step to test it in isolation before running the full workflow. The result appears directly below the step on the canvas.Step 7 — Run the full workflow
Click Run in the header toolbar. If you have input fields, a dialog will ask you to fill them in. The workflow runs in the background and you’ll see live progress in the run panel on the right. When it’s complete, click View in Run History to see the full output.Step 8 — Review the output
In Run History you can see every run of every agent. Click any run to see:- The inputs you provided
- Every step that executed and how long it took
- The output of each step — with a View result button that formats the data properly
- Any errors and what caused them
Tips
- Start small. Build a 2–3 step agent and test it before adding more steps.
- Use the test values fields when configuring a step — these let you run that step in isolation with real data without triggering the full workflow.
- Name your input fields clearly because the name becomes the variable placeholder (e.g. “Target Keyword” →
{{target_keyword}}). - If a step fails, click it on the canvas to see the error detail. Most failures are either missing configuration or empty data returned by an external tool.